Getting started with a free Amazon EC2 instance and logging in through SSH using only the web interface
Recently I’ve experienced strange Apache crashes on my VPS and the support ticket I opened wasn’t being answered, so I decided to check out Amazon’s offerings in this field. I turns out it is really simple to spin up a free (for a year) micro instance.
I chose Ubuntu as the operating system and a lot of tutorials tell you to configure and use the command line tool for starting an instance but I found it a lot easier to just go through the web interface. I will walk you through how to do that.
Sign up
Well, duh, you’ll need to set up an account at http://aws.amazon.com/ec2/
Selecting an AMI
Once you have the account go to the AWS management console and select the region you want your instance to be hosted. You’ll be redirected to the Console Dashboard where you’ll find a big fat “Launch Instance” button. That’s exactly what you want to do, so proceed to choosing an AMI.
An AMI is an Amazon Machine Image, basically a template for the various Linux distros. Collin Percival has also recently added AMIs for BSD, so if that floats your boat, go knock yourself out. Search for the most current (or LTS) version of Ubuntu you’re interested in and check that there is a yellow star next to it. There will be quite a few ones for your chosen release so just select one starting with the official Ubuntu user id of ‘099720109477’. I’m not sure why there are so many copies of the same release but I guess they continually repackage the image with all the updates applied, so you don’t have to do that.
After the image select ‘micro’ as the size of the instance (one micro is a free for for one year for new customers) and accept the standard settings for everything until you get to the key pair section. There you should create a new named pair and download the pem file to, say, foo.pem. Remember that name for later.
Allowing network access
This one is a bit tricky and took me longest to understand even though it is right under your nose: by default your instance won’t be reachable from outside Amazon’s data centre. You’ll have to enable the services you want to allow.
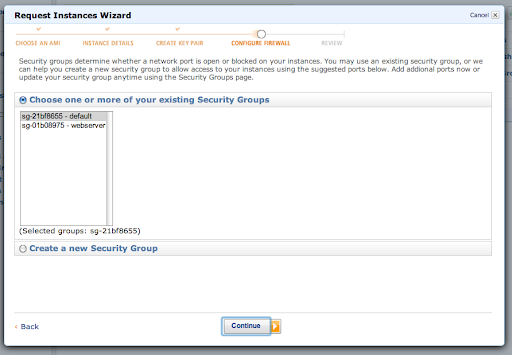
So, create a new security group and give it a name you’ll remember. Then select the services you want to allow; most likely you want at least ssh, http and https but maybe you’re running a mailserver as well.
Connecting to the instance with SSH
Back in the Management Console you’ll see your newly created instance. Right-click on it and select connect from the context menu. This will give you the instructions on how to actually log into the instance. Basically you’ll need the key file and start SSH with something like this:
ssh -i foo.pem root@ec2-11-111-1-1.eu-west-1.compute.amazonaws.com